Sprintervan Testarossa
Building process
Step 1.
Cleaned the van from any rust and dust, making sure that the zinc-based spray stick to the metal of the van itself. This also meant taking care of insulating the entire van with a special material so to avoid creating drastic heat differences during warm and cold weathers.
Step 2.
Applied custom cut plywood on top of the insulation so to create a “skeleton” layer in for the decorative wood and furniture to be attached to.
Step 3.
Started to implement the initial frames for the main solid structures in the living area: bed and kitchen. This proved harder than expected due to the natural curvature of the van (wider at the centre and shorter at its extremities) which required to take different measurements for all parts.
Step 4.
Cut a hole in the roof of the van for aeration purposes and started to instal the decorative wood on the main wall of the van. On top of that, we designed and implemented the frame for the overhead storage space. This also meant taking care of the electrical system of the van which fits behind the decorative wood.
Step 5.
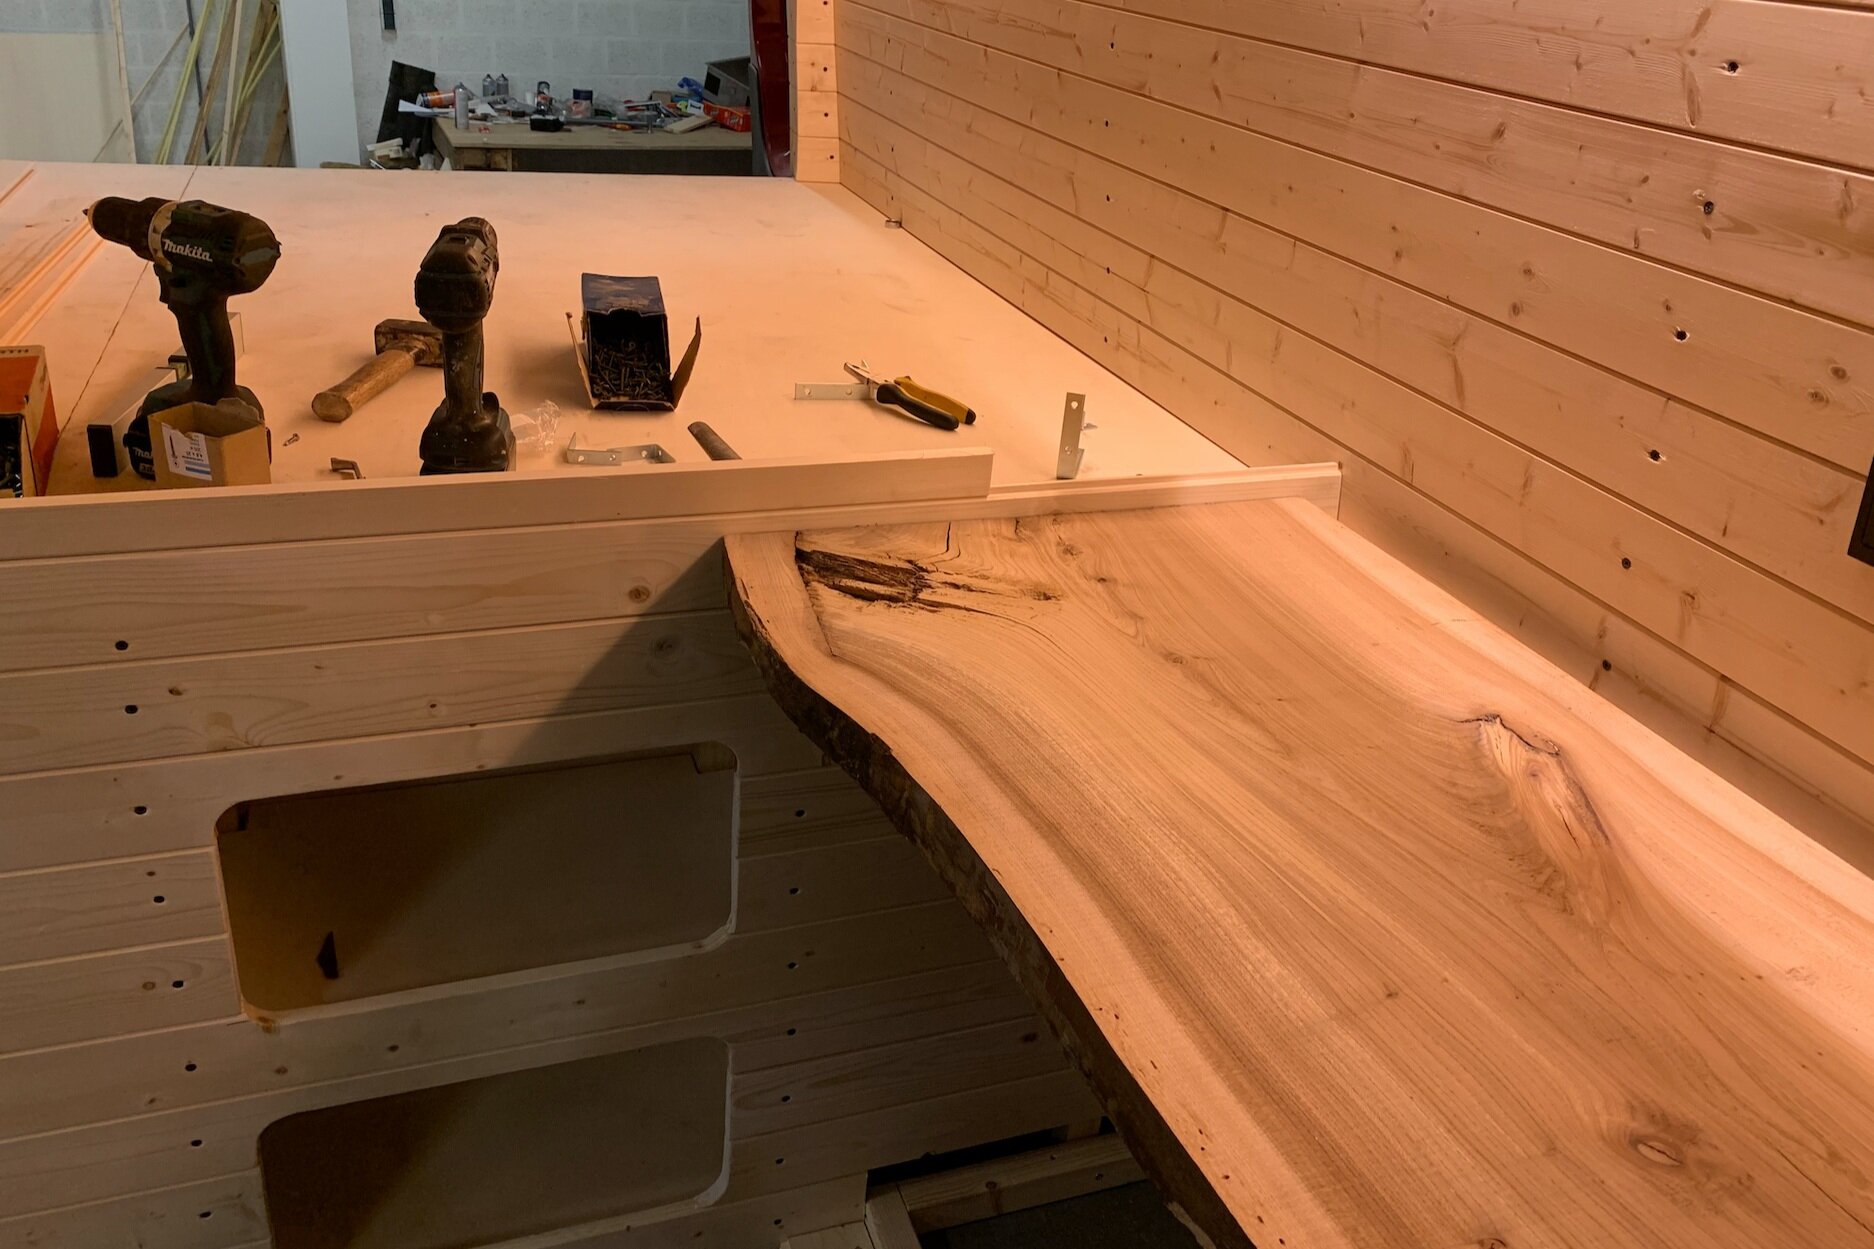
Completed the decorative wood all around the van, which meant being able to install all lights across the van and re-direct all the cables to the bottom right in a way invisible to the eye. We also completed the bed structure and the storage space in front of the bed structure, facing the kitchen. We also installed an incredibly beautiful counter top for the kitchen.
Step 6.
Carved out of the kitchen counter top enough room for the stove and sink, allowing every comforts of a normal home. We also designed and built a classy slide-in table and a minimalist bench which can be removed and used outside.
Video diary coming soon…


